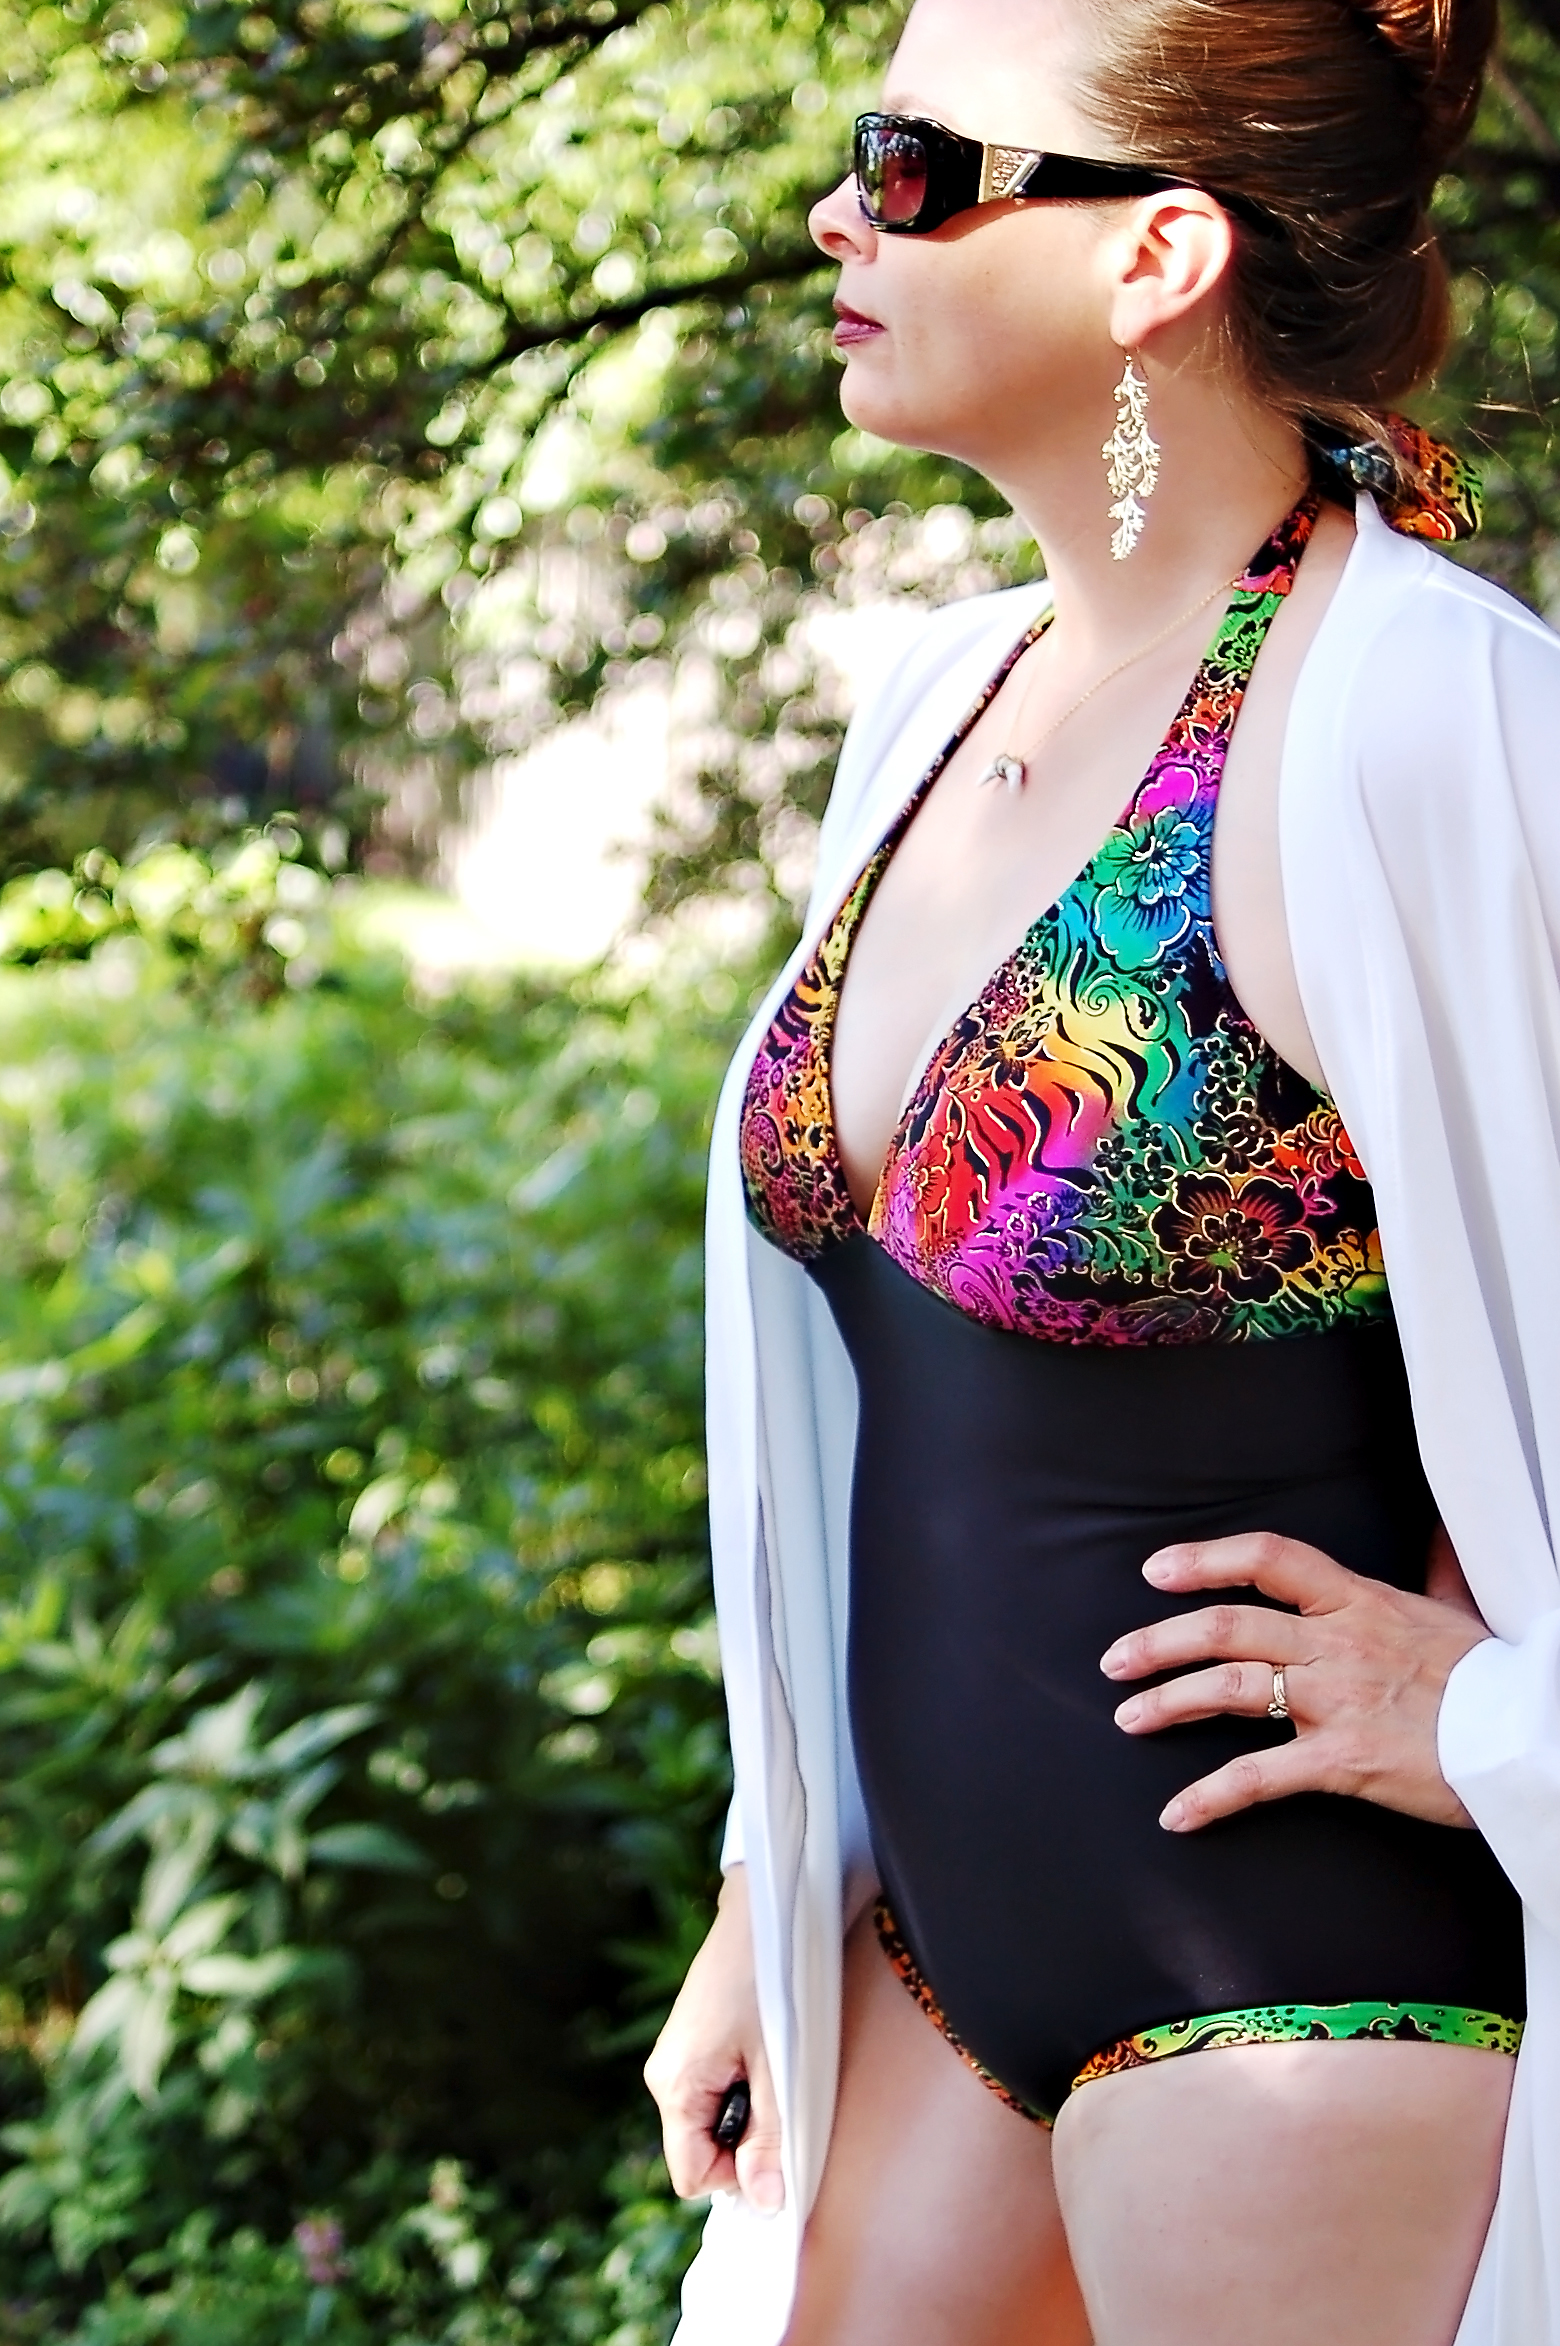
I happily decided to test this new swimsuit by Wardrobe by Me, since I wanted a new suit to wear. This is a good basic swimsuit, that most people should be able to make. I did a few things different from the pattern, and Christina asked me to write up a guest blog post on them, which is (will be?) over on the WBM blog.
One thing that I definitely like to have in a swimsuit is bra cups. I have nursed two kids and tend to be cold quite often. I’d rather defray any additional attention, and put in some cups.
My favorite swim cups I have purchased were from Sew Sassy. I also got my micro mesh from there, too (tummy control lining). I didn’t like the cups I found at Joanne’s Fabric Store here, which were Dritz brand. They didn’t form quite as well, and were more pointy. These give a nice rounded appearance and form to your body.
Okay, so now that you have your swim cups, I am going to show you how to insert them in the cups of your swimsuit.
First things first, mark the gathering lines. It is easier to do it now before putting in the cups.
Now, place your cups at least an inch up from the bottom edge and center them. You may want to place them over your chest to make sure that is the right placement, too. Now, flatten out the bra cups over the lining, and make sure the lining is not stretched out underneath. Smooth everything out, while keeping it flattened, and then pin the edges.
Take them to your machine and zigzag stitch them onto the lining, pulling out the pins as you go. The result may have a little bunching, but it will smooth out when worn.
Now place the fabric over the swim cups in the lining and serge, or zigzag the side edges together. I also gathered the bottom edge while I was at it.
Attach the elastic to the inside edge of the cups. When attaching, leave a tail out at the beginning to make it easier. I don’t cut my elastic first, and just cut the edge when I am done. Pull the elastic slightly (just the elastic) as you zigzag this onto your swimsuit. Repeat for the other piece.
To ensure that your cups stay together when attaching to the body or band, just do a few stitches within the seam allowance.
I wanted my suit to have the seams enclosed, so here is how to do that, as well. I tend to do this to all my lined garments. I enclose as many seams as I can!
Side note: If you want to use micro mesh, or some other equivalent, don’t do your entire suit in this fabric. Your crotch lining needs to be a lining fabric. I find it more comfortable to just do the tummy, or front, panel in micro mesh and everywhere else in regular lining fabric.
Gather your cups in between the markings. Take your swimsuit lining and main body and sandwich the cups in between, right sides of the cups facing right side of the body. I mark the center of the body with a pin and align the middle of the cups to make sure everything is centered. Loosen the gathering on the cups until the edges meet up. Make sure your gathering looks even on both cups and then pin or clip the layers together.
Sew with a zigzag stitch. Clip any threads between the layers.
Now, attach one of the back sides (main and lining) in between the front lining and main fabric. Zigzag or serge this seam.
This is where it gets a little more complicated. Think of a burrito, where you have to roll things in the middle. The front pieces end up in the middle here. Place the back main piece right sides together with the front main and lining. Pull the back lining around and attach over the front lining. Pin or clip in place and serge. If you want to check to see if it is all correct before sewing, pull it out while pinned to make sure everything is attached correctly and then put it back. Saves on seam ripping.
Now you have it all nicely lined!
Continue on with the rest of the instructions for the swimsuit and get it finished up for a day at the beach. 🙂


