This was a new test for George & Ginger Pattern Company, where she extended the sizes on the bottom and top of her size range. She added tween sizes (12 & 14) and sizes in the upper range (goes up to size 26/5X).
The Slash Tunic by George & Ginger Patterns
This was my first version out of a ponte that didn’t quite stretch enough. I made the tunic length, long sleeve in a size 12 chest graded to 14 hip. I didn’t do any shorten/lengthen adjustments on it. It was too tight in the underarms, so make sure you choose a fabric with enough stretch. I should have known better, since I made myself an outfit with this before. This is going to be headed out to someone else…maybe one of her friends!
The pants were the Jalie Eleonore’s that also didn’t have enough stretch. I need to add to the rise and add some length for the next version.
This next one is out of a poly lycra from The Worth Collection. It was a fabric from the local fabric warehouse. It has plenty of stretch with a nice brushed interior.

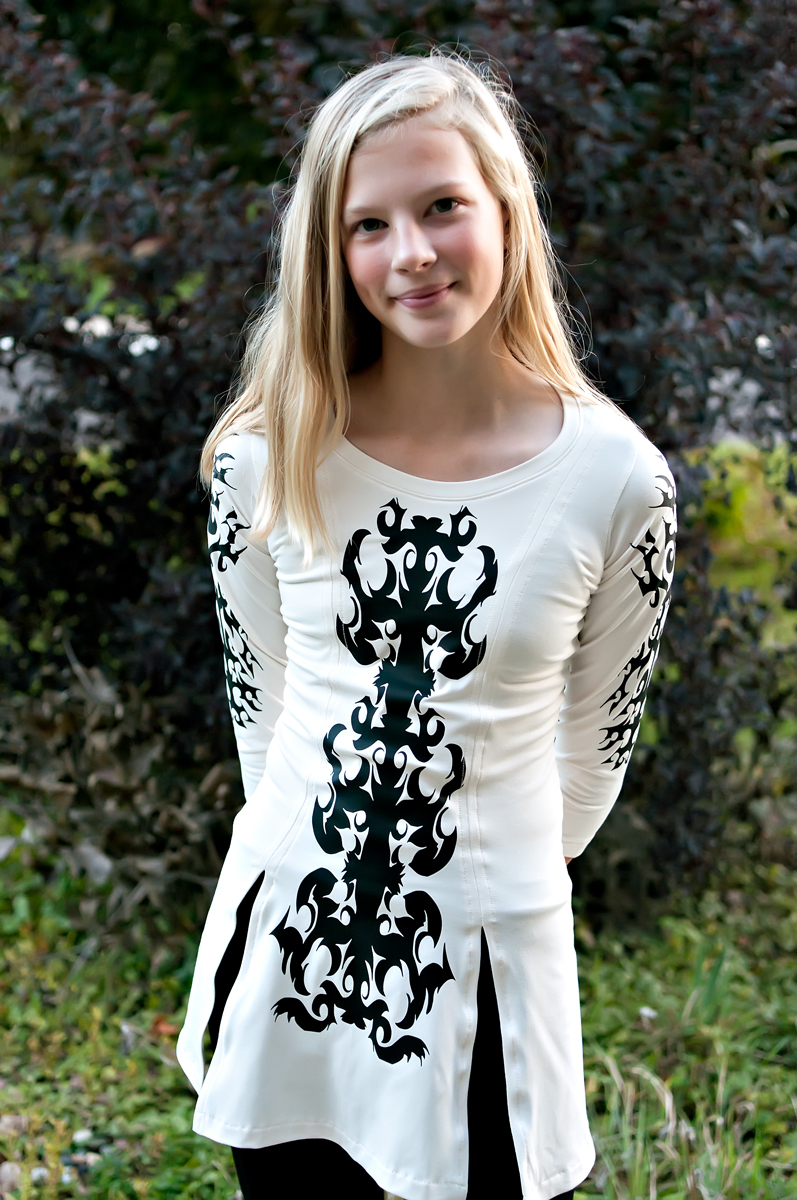
This one is a straight size 14 with the 3/4 length arm and tunic length. You have to make sure when you are doing the hem on the slit that you are not pulling it at all. This can make it offset and uneven. If you have a really stretchy fabric, I would suggest a thin line of iron on interfacing to hold its shape.
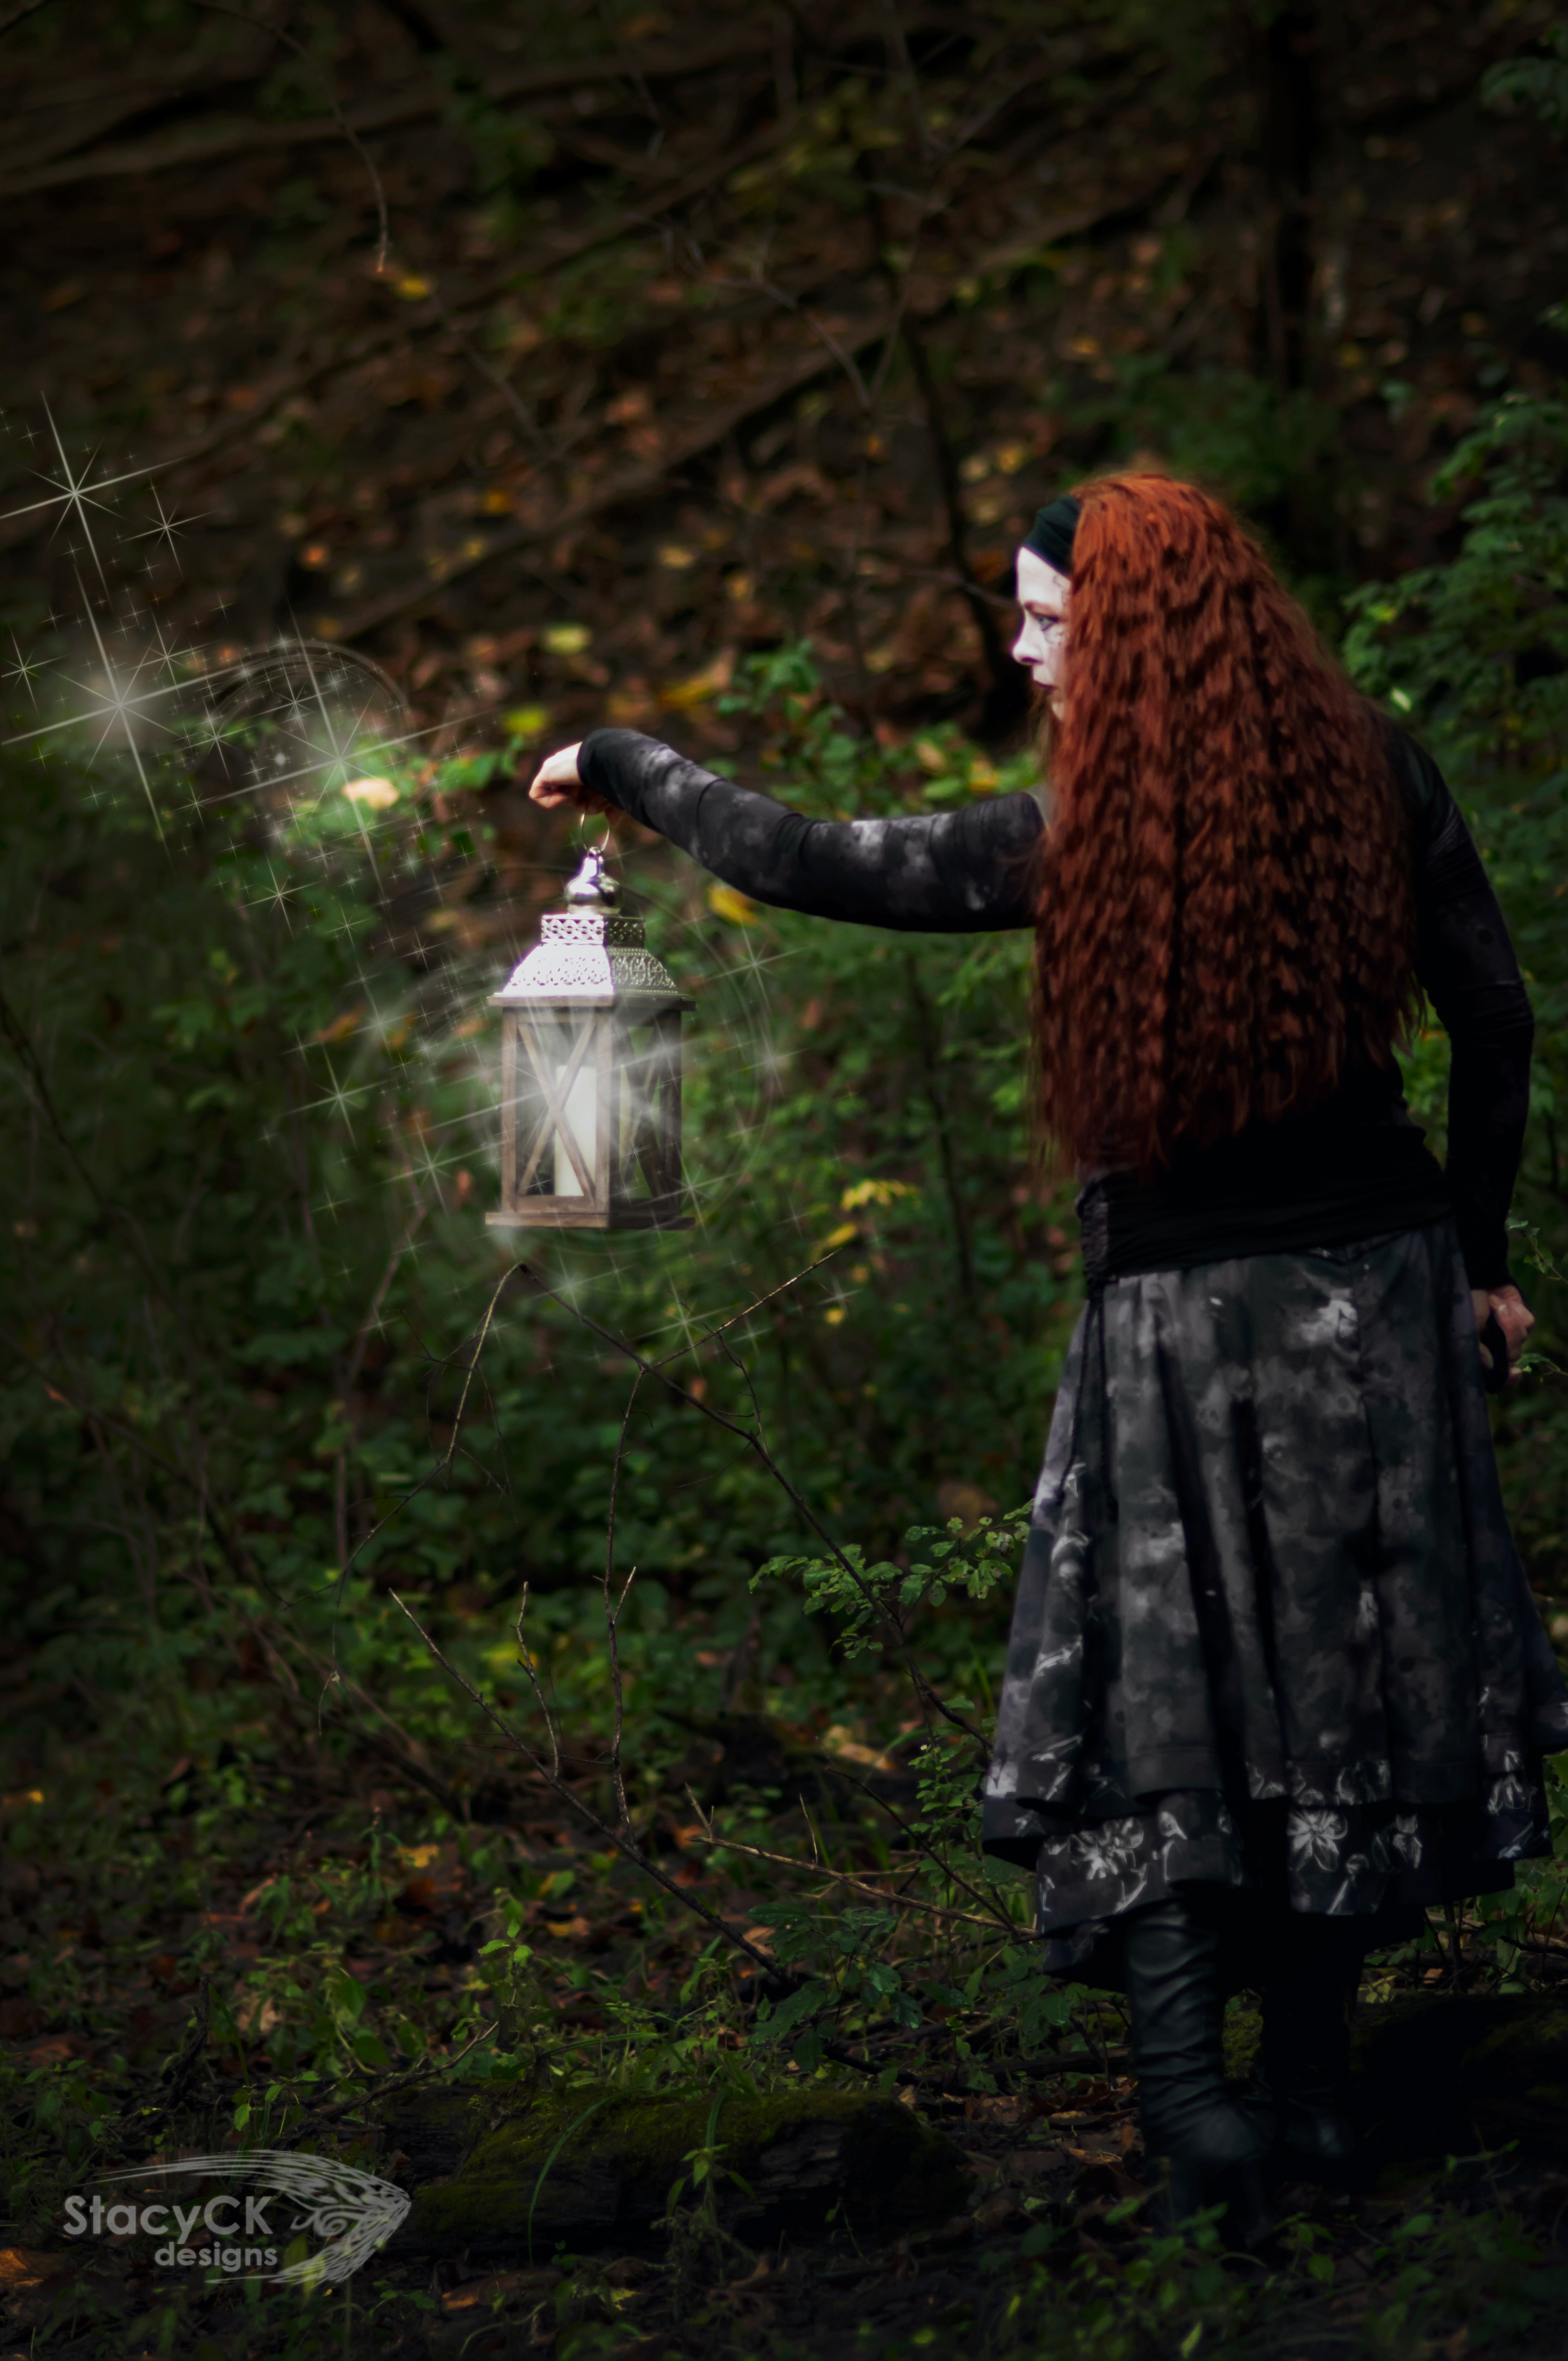
The pants she is wearing are from her assassin costume I made. Figured she could still wear the pants before she grows out of them. The fabric is a pleather on a scuba type base, so they are comfy.
I also added HTV to this top on the upper arms and middle front.

When I sit down and create the designs in Photoshop, I try to take the measurements of the pattern and make one that will fit within the seam allowance. Doesn’t always work, but I think this one worked out pretty well. I have to layer the cut for the front since it is longer than my 12″ cutting mat and 15″ heat press pad.
All the designs I use are ones I drew. I have tons of them. My computer is in the family room, so I will sometimes just draw while watching tv with the family. Once the design is done (I usually just draw one side, so it is even), I will mirror it, finish it up and then create a brush with it in Photoshop. When you make them into brushes, you can then use any color and size and it is easier to create designs from them.
Once I have the .jpg file the way I like it, I bring it into the Silhouette software, trace it, an make any additional size changes I need. Then, I just cut it out, weed it and put it on my fabric, usually before construction. It is easier to put it on then. I also bought myself a heat press this summer. Oh boy, does that make application sooooo much easier. I’ll be using HTV a lot more now that I can easily and quickly put it on.
I will get the files (.jpg and .studio) into the Google drive folder (link in the sidebar) at some point…hopefully tonight.
This top is currently on a release sale for $6.75. Click on over to get it, if it is something you need in your closet!


