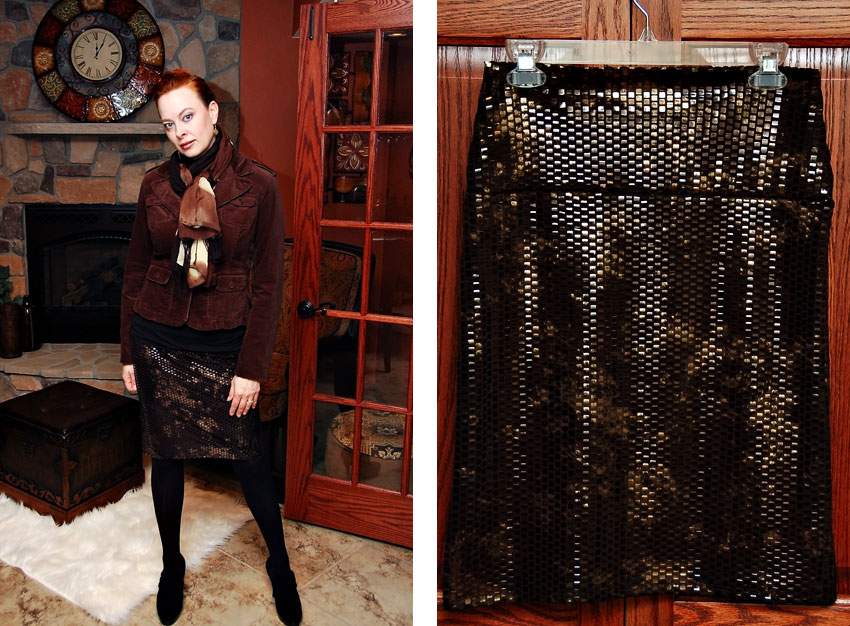
I have a favorite skirt pattern. You may have noticed. I usually make 3 or 4 of them every year, since they are easy and comfy to wear. I have made them out of stretch denim, stretch twill, and any apparel fabric that is thick enough and has lycra in it. This is a skirt, so you need a bottom-weight, non-see-through type of fabric. The top is doubled up, so it sucks in the tummy. 🙂
The pattern is pretty easy. Same on both sides, no darts, no elastic. It relies on the stretch in the fabric and the shape. I do put a zipper in if the fabric doesn’t have enough stretch, though.
Here is the pattern and my measurements. I am 5″ 7″ and 135-ish lbs. My hips right now are at 37″ and waist 31″, but it fit at 35″ hips and 28″ waist. Hey…it’s stretchy, so it moves with that ever moving number on the scale! If you look at my measurements below, hopefully it can help you draft one for yourself. I really only have about an inch of ease at the largest point in the hips, so it is not super tight. I wear them to work, so I don’t want them super tight.
The image on the left is the measurements of the skirt as one piece. The image on the right is with them separated, so you need to add a 1/2″ seam to the measurements (i.e 5.5″ long for the top piece, and 19.0″ long for the bottom piece).
Step 1: Cut the pattern pieces. As you can see for the top, you cut it on the fold on the side and on the top. The fabric is folded like this:
The cut piece looks like this:
Step 2: After you cut out the top and the main body pieces, sew up the side seams. I used my serger, but you can use a zigzag stitch if you don’t have one. Here are the pinned pieces:
As I noted above, you can put a zipper in the back seam if it isn’t stretchy enough to pull it over your hips. To do that, you have to cut the back in two pieces at the middle, with an extra inch to turn under for the zipper. Press the seam, and insert a zipper in between. Sew up the zipper in between the seam on both sides. You can do this either before or after you sew the back and front together. I do it before, as there is less fabric to navigate around.
Step 3: Turn the pieces right side out, then attach the top and bottom together at the seam line.
Step 4: Now time to hem! For this I usually serge the edge, turn it up and then sew it down with a zig zag stitch (it needs to be able to stretch, so don’t use a straight stitch). If you don’t have a serger, you can just turn it under once if the fabric isn’t prone to fraying. If it does look like it will fray, zigzag close to the edge and then turn it up and hem.
All done!


Sewing projects with no darts, elastic, buttons, or zippers are the best!
Thanks for sharing your tutorial 😉
thank you!!! i may attempt one tonight.