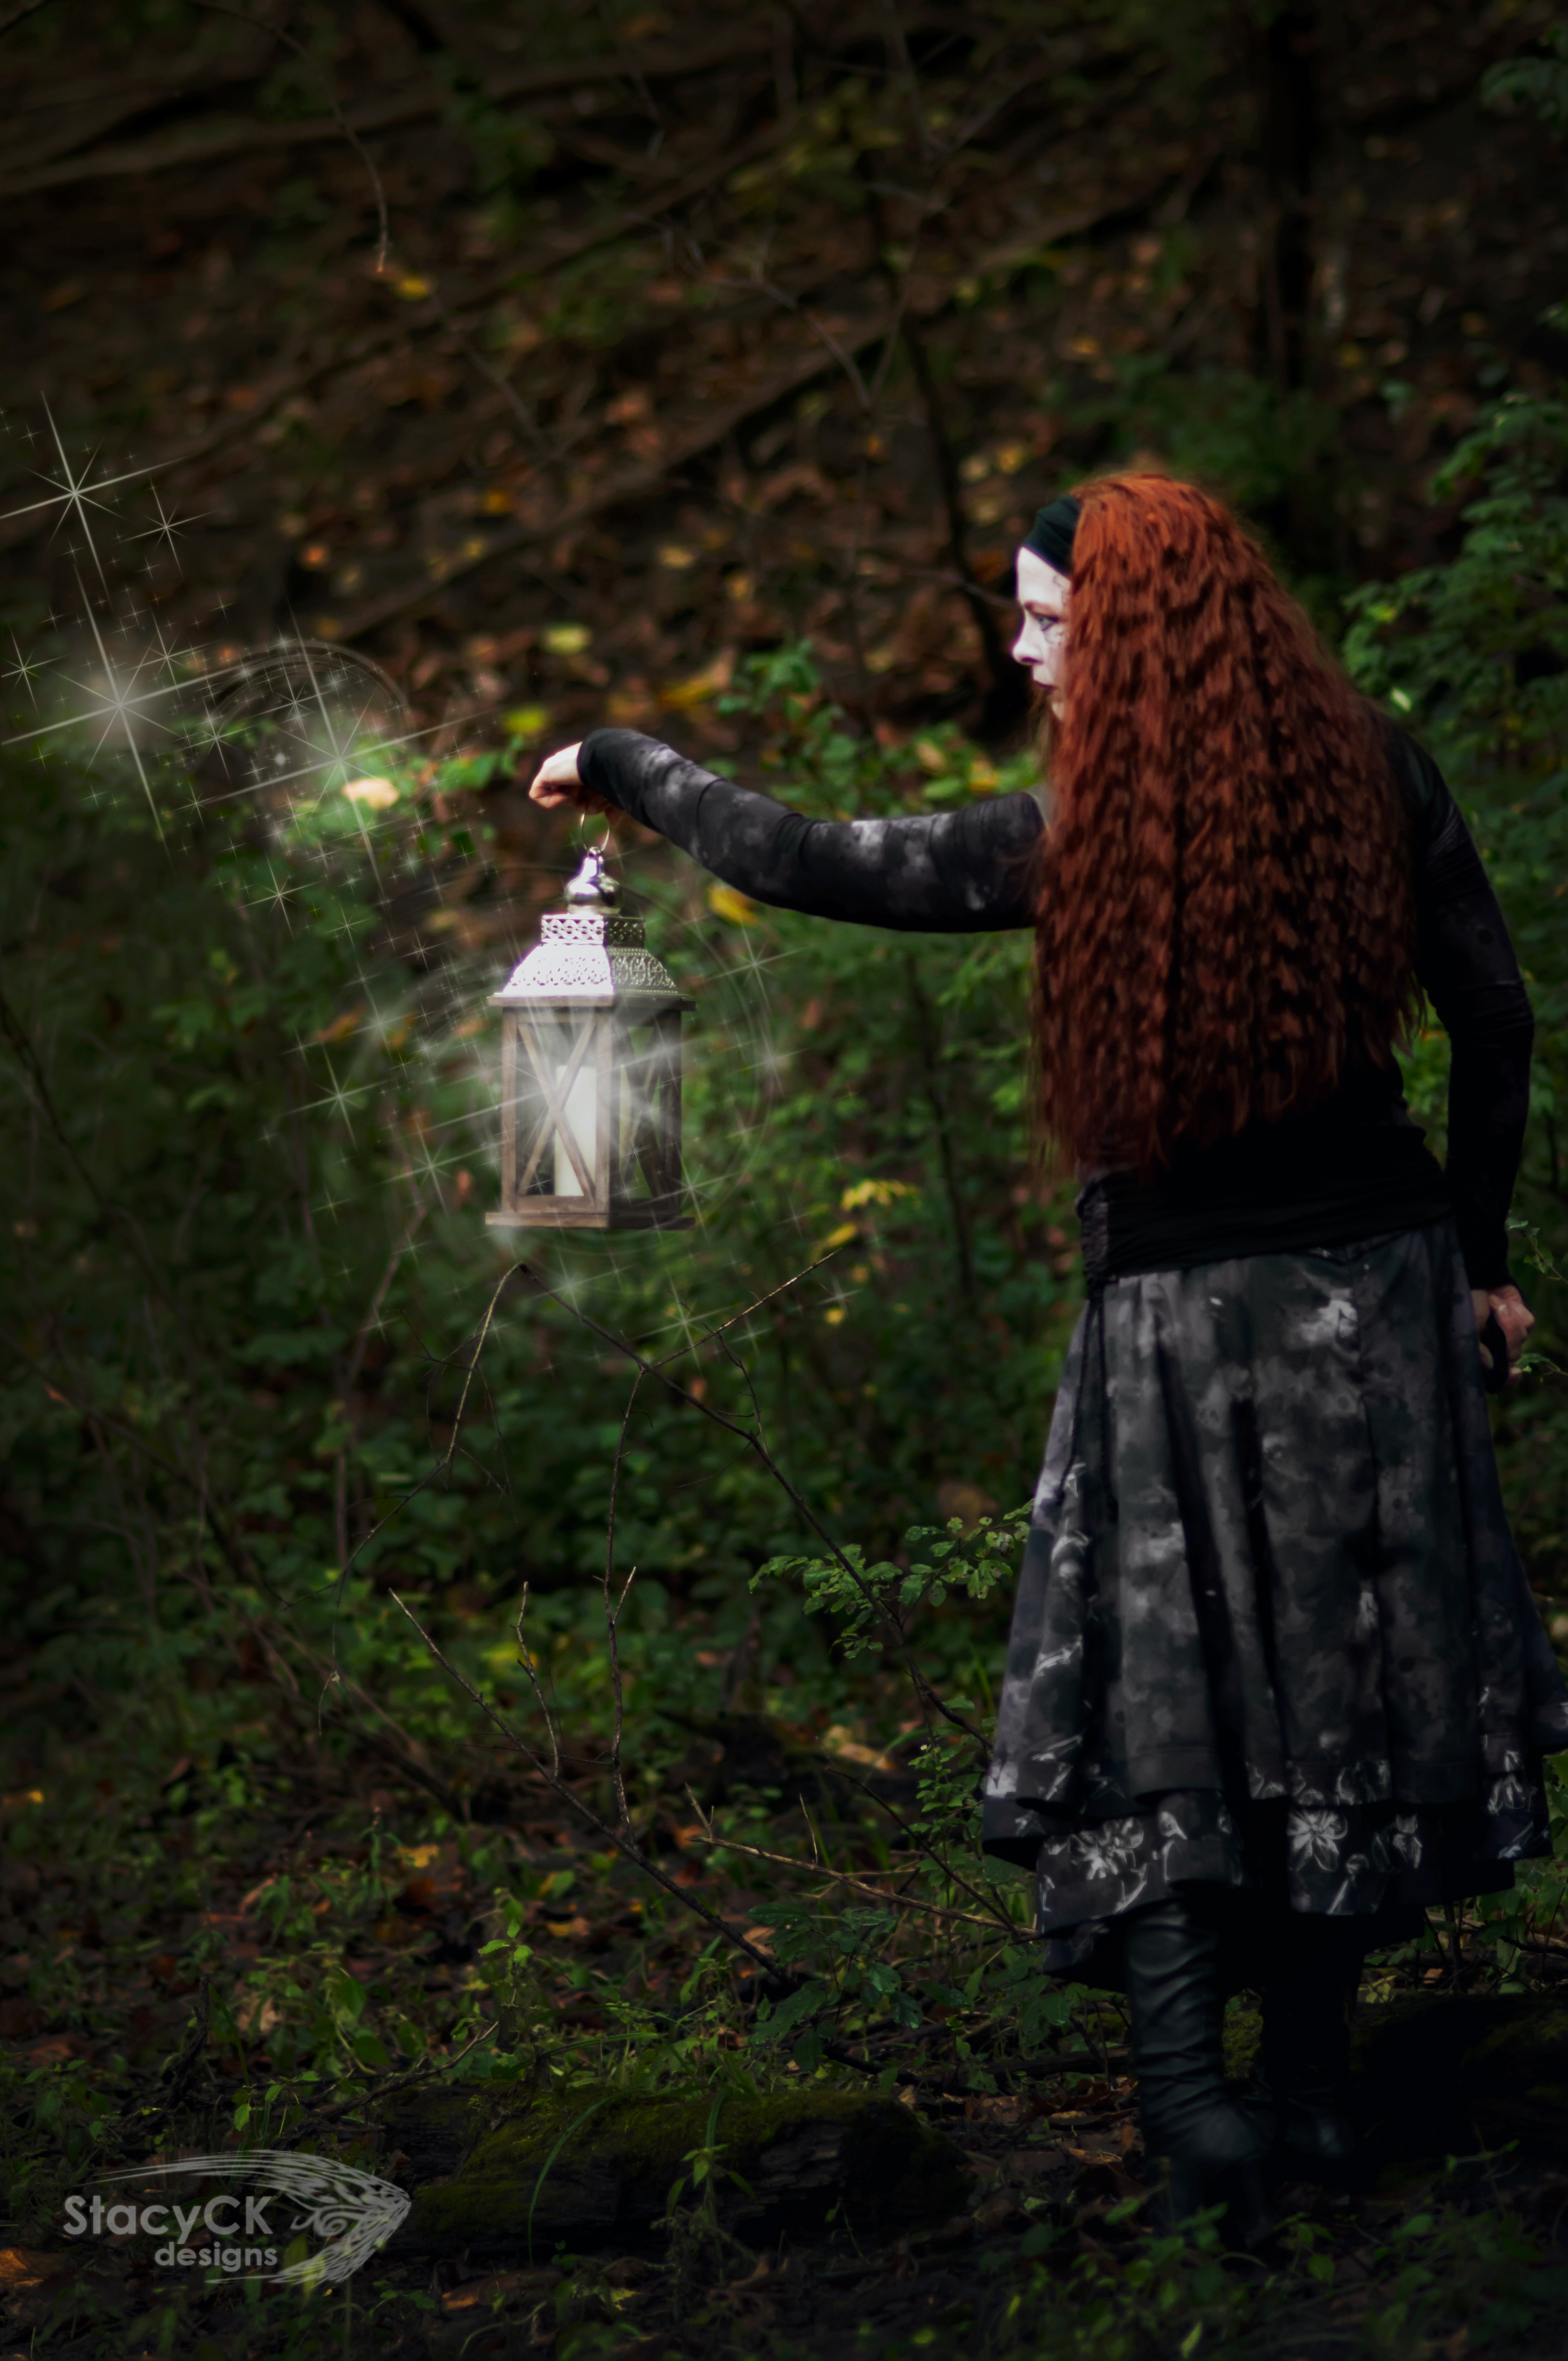
All things being equal, this costume was much less involved than my son’s costume for the con.
Which, in an of itself, is quite the statement for a kid’s costume that will get worn a handful of times.
The costume dress is a mix of a crinkle, double-sided knit which is rather heavy, pleather and a lightweight crinkle rayon. I wanted it warm enough for Halloween, so I made the main body out of knit. It has long sleeves made out of the knit that are hidden in the flowy sleeves.
Of course, the day of the convention it was 80 degrees. At least the convention center had some A/C.
The collar to the dress is made of pleather with wire hidden in the seams. I did draft the pattern and make them so they would form in that particular way, but I wanted the wire in them so they could be a firmer shape, too.
It does not have a zipper, as it is knit for the most part. I could probably take the back apart and put in a zipper. She would likely appreciate that, as it is a bit hard to get it over the head. I will probably do that before Halloween.
I put a bustle in the back, because it is very long. I figured that we would need to bustle it up when we were walking around the convention so she didn’t get stepped on too much.
The headpiece was the hardest part here. I formed the horns out of flower foam (What you stick flowers in – they come in bricks).
I am fairly certain I inhaled and unhealthy quantity of foam dust, as I formed them with my Dremel and a sander blade. After the horns were formed and about the same looking (the hardest part!), I put some horizontal marks on them and painted them black. The horizontal marks are supposed to look like the rings on the horns.
I ended up covering them in black electrical tape to give them some protection. The flower foam dents pretty easy, so this helped them be more sturdy. The lines that I marked on the foam show through the tape, which was wrapped tightly around the horns.
I used some heavy upholstery fabric for the base of the headpiece. Once I had the shape fairly good, I used hot glue to adhere them to the fabric. I used lots and lots of glue!
I also attached a point in black leather that I tried to wet form. I put the marks on it when it was wet and tried to get it to curve in the shape of her head. It sort of worked. Next, I sewed some black dancewear fabric onto the upholstery fabric.
The headpiece ended up being too small, so I sewed an extra strip of the fabric to the bottom edge. I also used a strip of the dancewear fabric to go around her neck. It is held together with snaps.
The headpiece is very light, which is a good thing for a little kid. I just told her she had to be VERY careful with the horns since they could be broken easily. That is the downside of using flower foam.
On the front of the costume, Malificent has a crow skull. You can’t really see it unless you look fairly hard at it, since it is black. I formed the crow out of sculpty clay while looking at some pictures online.
Once it was baked, I sprayed it black and then attached a pin back.
We went for a walk in the woods to get a stick for her staff. We finally found one that she couldn’t break (went through two of them on the walk), and brought it home. Next, I had to figure out how to make it look like it had a glowy thing on top. Kinda hard when it is all last minute.
I went to Michael’s to see if I could find a stone or something to put in the top, but they didn’t have anything big enough or spherical enough to work as a stone. They had a toy in a small section, though, and it was $2.
Good enough.
I took it apart, and attached it to the stick with a cellulose clay. Once it was dried, I painted the clay with acrylic paint and stained the staff a darker brown.
So there you go…Malificent’s costume!
I took the kids out into the woods to take pictures, and I am still working on them. I will get them up shortly. 🙂


Just amazing!
WOOOOOOOOOW AMAZING ….