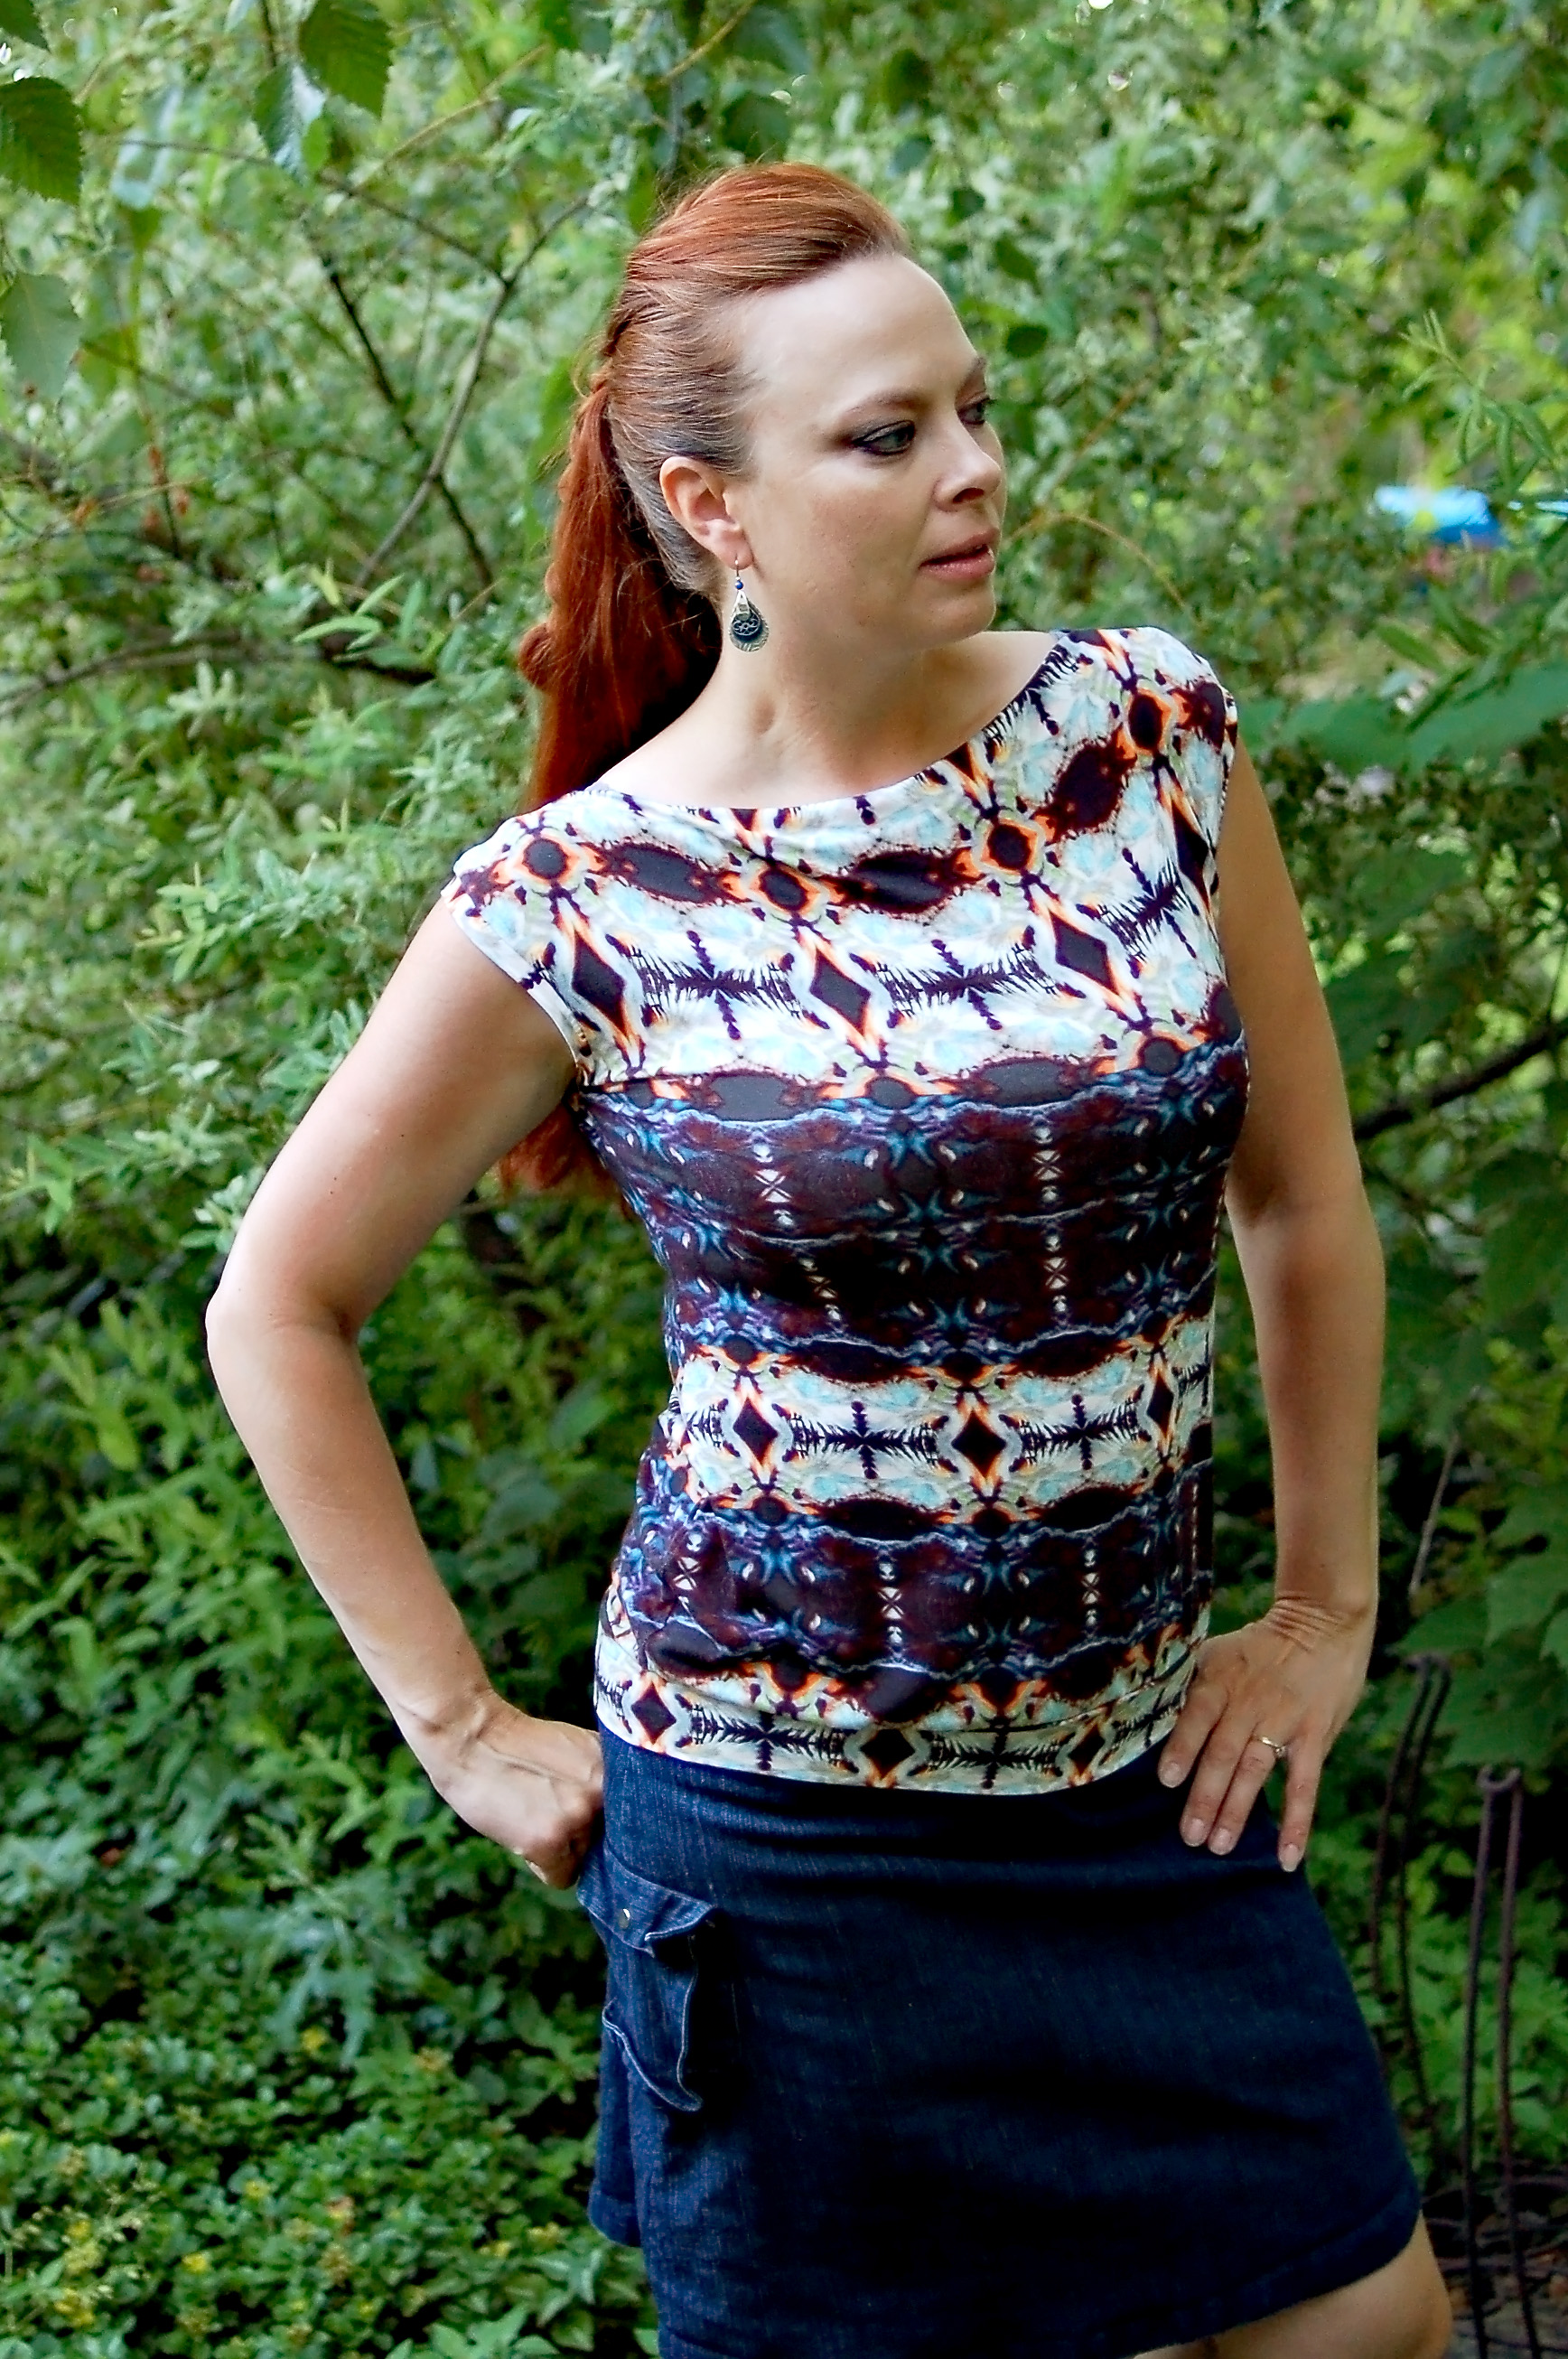
Years ago I bought a jersey t-shirt at a fast fashion store, and it turns out that I loved the fit of it. It was too casual to wear to work, but I wanted to make a pattern from it so I could make some shirts to wear for my business casual office.
They turned out just the way I wanted! One didn’t drape as much, so I angled out the pattern piece more after that one. If you want more drape on it, you just move the top of the front pattern piece out from the fold line, and keep the bottom of the pattern at the fold line.

Here is what the pattern pieces look like:

Here is a link to a pdf of the hand-drawn pattern that is my size (39B, 32W, 39H).

You can grade it to your own size by using a pattern that fits you already. This can just give you some guidelines. I estimated from my memory on the bands. They should be correct, but my memory isn’t that great. I have found bands also really depend on the stretch in your fabric. These tops had a nice amount of lycra, so it worked for them. Generally I go with 75-80% of the opening for the bands.
EDIT: That bottom band is off. It should be about 16″ x 6″ on the fold.
EDIT #2: To create a greater drape on the front: Put your front pattern piece on the fabric on the fold, and angle the top out away from the fold a few extra inches. The bottom pattern piece will still be next to the fold of the fabric. The more you move it out, the greater the drape and opening at the top. I have been moving it out about 2 – 3″ for the tops I have been making lately (6/7/17).
I also suggest a jersey or a bamboo lycra for these tops. If the fabric doesn’t have a drape to it, then it won’t work as well.
This pattern was really quick to make with a serger.
Steps:
- Fold the back neckline binding in half, long sides, wrong sides together. Attach to the back neckline, stretching the binding a little as you go. Press and topstitch.
- Serge the front hemline. You could leave it unserged, too, since it is a knit and shouldn’t fray.
- Attach the front and back together at the shoulder. You need to sandwich the back neckline in between the front neckline where it angles out. Serge.
- Bind the armholes. Press and topstitch.
- Sew up the side seams.
- Sew the bottom band in a continuous circle and fold in half.
- Attached the bottom band.
- Done!
I made three tops with this, and I know I will be wearing them a lot this summer.


Thanks so much for the great tip on having the drape at the front. Simple, effective, and I never would have figured it out !
Great, I am glad it helps! The same technique can be used in the opposite way to add a “swing” effect to shirts or dresses, too.